Making hard apple cider is one of the easiest ways to preserve your apple harvest. After following the instructions on How to Make Hard Cider, read on to learn (from my husband Brian) how to rack and bottle your hard apple cider.

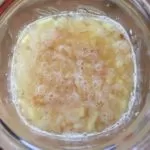
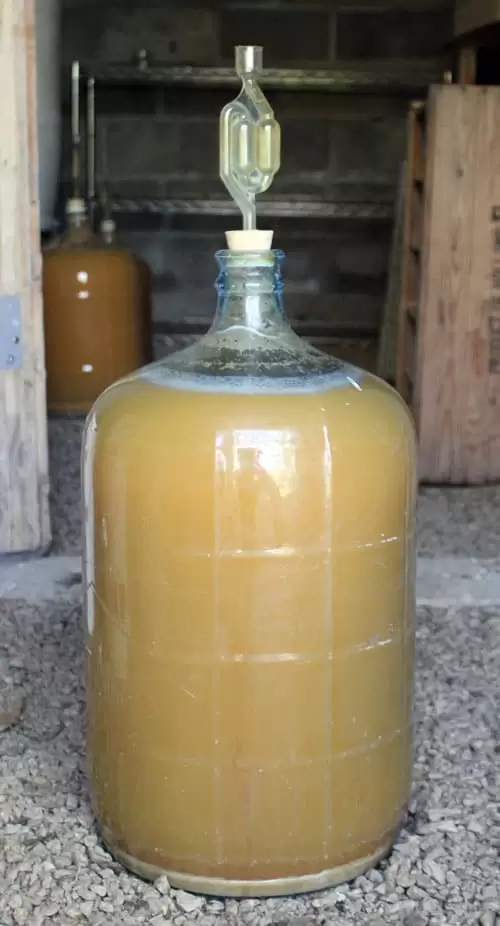
We left off with your batch of freshly pressed cider happily sealed in a vessel. It may be slightly cloudy from the tiny particles of apple that made it through the strainer, a good sign of freshly pressed juice. Now, naturally occurring wild yeasts eat the apple cider sugars, reproduce, and eat more, and in the process excrete alcohol and carbon dioxide gas.
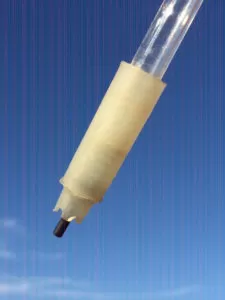
The alcohol we want to keep, but the gas needs to escape, otherwise your vessel will explode from the pressure. That’s what the air lock in the carboy or jug is there for: to allow the carbon dioxide gas to escape, but just as importantly, to prevent any air or bacteria from your room to enter into the cider and sour it.
As the cider ferments, you will notice tiny bubbles streaming up the sides of the glass and burping out the carboy. At some point, these bubbles will slow and almost stop. How long this takes depends on how sweet the apples were, the vigor of the yeast, and the ambient temperature, but at the very least it should take around a month for the fermentation process to finish.
To Rack Your Hard Cider, or Not?
At this point you have a choice: If you don’t mind slightly cloudy cider, and you’re excited to start drinking it, you could bottle it at this point. However, many home brewers will “rack” their cider, which simply means that you siphon out the cider into another clean container of the same size, and leave the sediment layer or “lees” on the bottom of the first carboy.
Siphoning, rather than pouring, allows you to transfer the cider without agitating it or stirring up the sediment on the bottom. (The sediment is made up of dead or dying yeast cells and fine apple pulp; it’s certainly edible, but might give your cider an off or bitter flavor.) Home brew supply stores sell inexpensive tubing and ends that are designed to effectively siphon the liquid and fill bottles without spillage (see supply list).
Supply List for Racking and Bottling Hard Cider
- 5 gallon glass carboy
- Airlock
- Tubing for siphoning liquid
- Bottle filler attachment
- 12 oz glass bottles
- Flip-top glass bottles
- Bottle caps
- Manual bottle capper
- Priming sugar
How to Rack Hard Apple Cider
To begin, set your carboy on a table, and place your new, clean container below it. Start siphoning the cider into the one below, being careful not to let the inflow end dive down and start sucking up the yeast sediment.
To start a siphon, you can either fill the entire hose with water then quickly submerge the end, or you can suck on the downhill end.
Now simply fill the lower carboy.
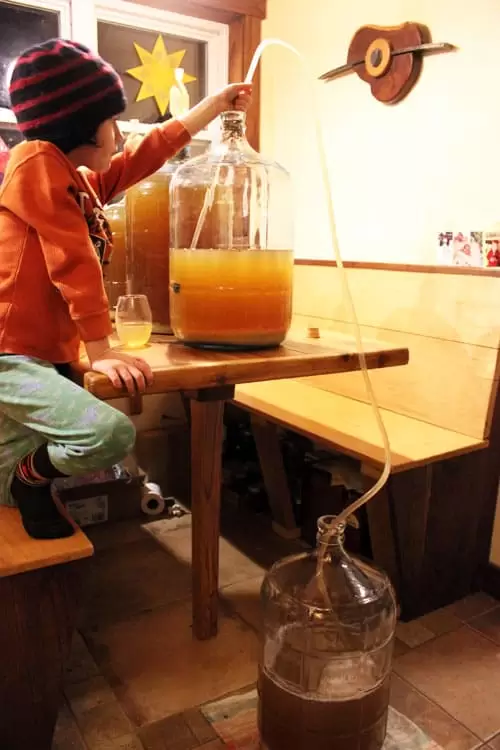
When fermenting in carboys or jugs, it’s best to have the level of your liquid within an inch or two from the top. After siphoning into the new container, the level of liquid may be slightly lower than you’d like because you left the lees behind. You could top it up with a few more cups of sweet, freshly pressed cider, clean water, or honey water. Attach the airlock again, and place your carboy in a cool location.
How to Carbonate Hard Cider
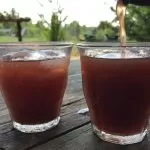
If you added more sweet cider or honey water, you may notice a bit more bubbling activity in the coming week, but don’t worry if you don’t see much. The main purpose of this secondary fermentation is to allow the cider to complete its fermentation and start to clear and age. You’ll notice the clear amber golden color as the weeks go on, as well as another (much smaller) layer of sediment forming on the bottom.
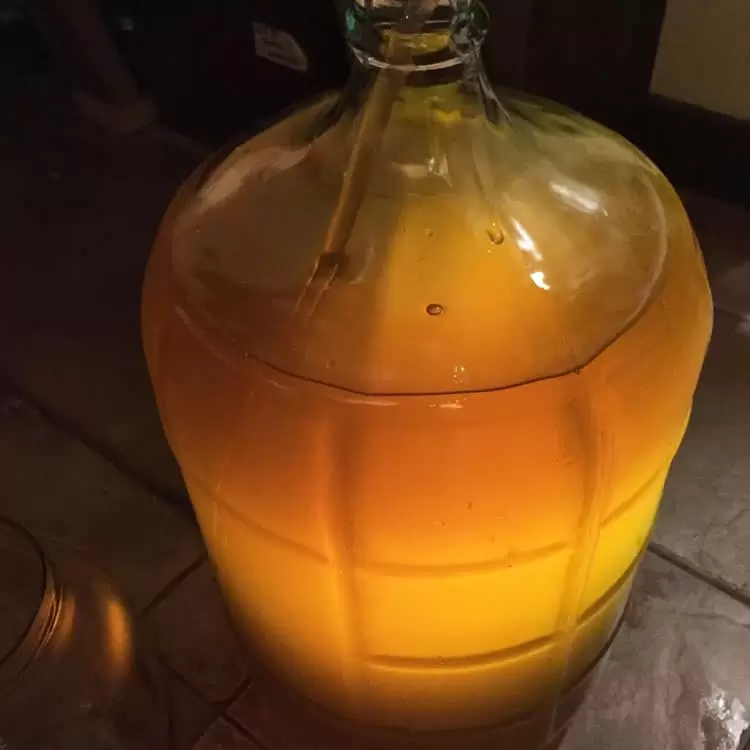
At this point you can store this very stable cider for months in a cool dark location. Indeed, that was how most early homesteaders kept their cider – in bulk containers like wooden casks or barrels, down in the basement where they could regularly tap some off for use.
But, most modern homesteaders and cider aficionados generally like cider sparkling or carbonated.
There are two ways you can carbonate your cider: Bottle it with a little priming sugar, or pressurize it with a keg and CO2 system. I won’t cover the keg system, but it’s certainly a handy system if you brew beer or cider on a regular basis and, after the initial expense, it should last you years with only the cost of refilling your CO2 canister. You can also use it to carbonate other beverages like kombucha or homemade soda.
How to Bottle Hard Cider
Bottling takes a bit of time and effort, but allows you to use the magic of fermentation to produce sparkling cider with no expensive equipment other than a simple manual bottle capper and caps, or a supply of flip-top bottles (see supply list).
Prepare your bottles for use by washing them in hot soapy water and a hot rinse. A five-gallon carboy of cider will fill approximately 50 regular (12 oz) beer bottles. Using larger beer bottles or cap-able sparkling cider bottles will mean less cleaning and bottling work, but make sure you use bottles that are meant to hold carbonated pressure, as other kinds might explode.
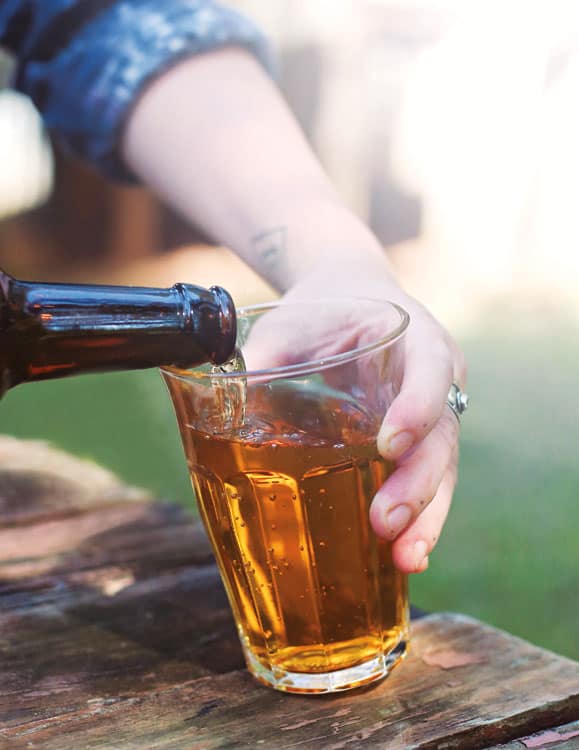
The carbonation process uses the action of the yeast to your benefit. During the initial ferment, you allowed the carbon dioxide to escape through the air lock. Now, you will capture that gas that is formed when sugar is digested, and let it build up a small amount of pressure in each bottle, which makes the cider “sparkling.”
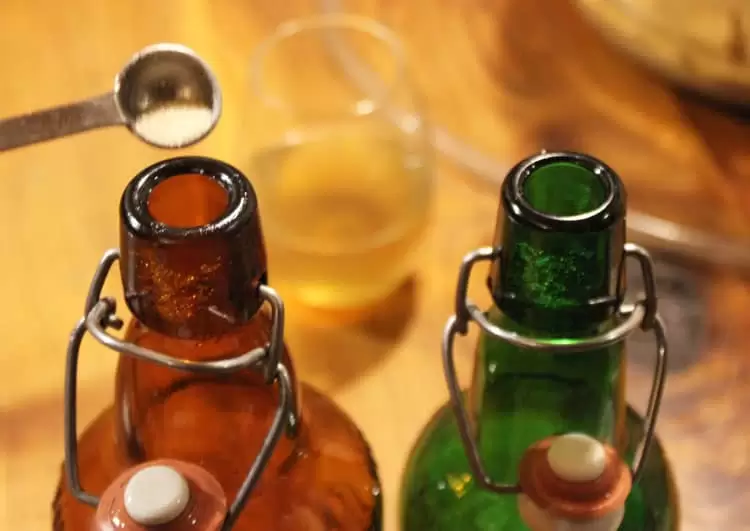
At this point, however, your cider is very dry, meaning most or all of the sugar has been fermented. So it’s necessary to add a small amount of sugar to each bottle to feed the remaining living yeast in your cider just enough to produce the gas necessary to carbonate the bottle.
Though a bit tedious, take the time to measure out 1/2 teaspoon of priming sugar into each bottle.
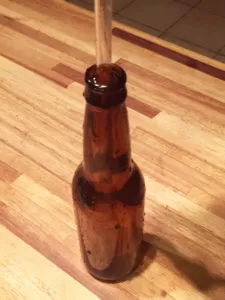
Position your carboy on a tabletop surface like when you racked, and assemble your bottles below. I recommend the bottle filler attachment for your siphon hose, since it shuts off every time you switch bottles and leaves the proper air space in the bottles as you pull it out.
Though not necessary, the bottling process moves much faster with two or more people: One fills bottles, the other moves new ones in place, a third could start the capping process.

Once capped, you should let your bottles sit at room temperature for 3-4 days to jumpstart the bottle fermentation process, and then store your cider bottles in a cool location. Generally your cider will be carbonated and ready to drink within a week!
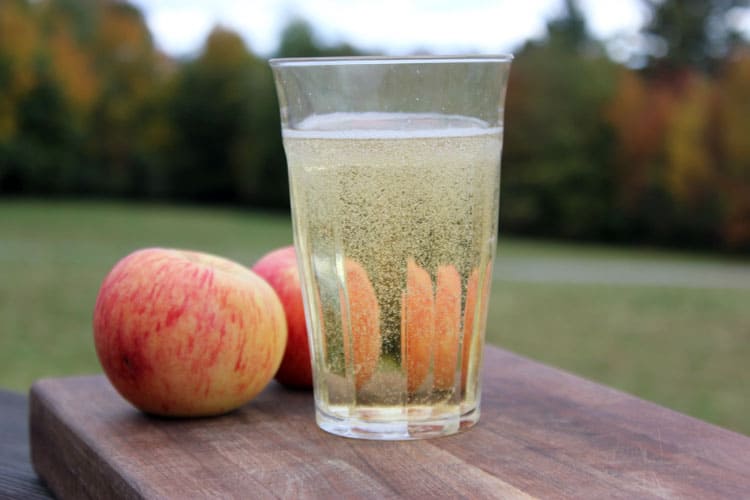
Enjoy the slightly sweet, tangy, sparkling goodness of your homemade hard apple cider!
Pin it!

More homesteading inspiration!