How To Wrap Text In Excel
A practical step-by-step guide to how to wrap text in excel, including preparation, instructions, common issues, tips, and next steps.
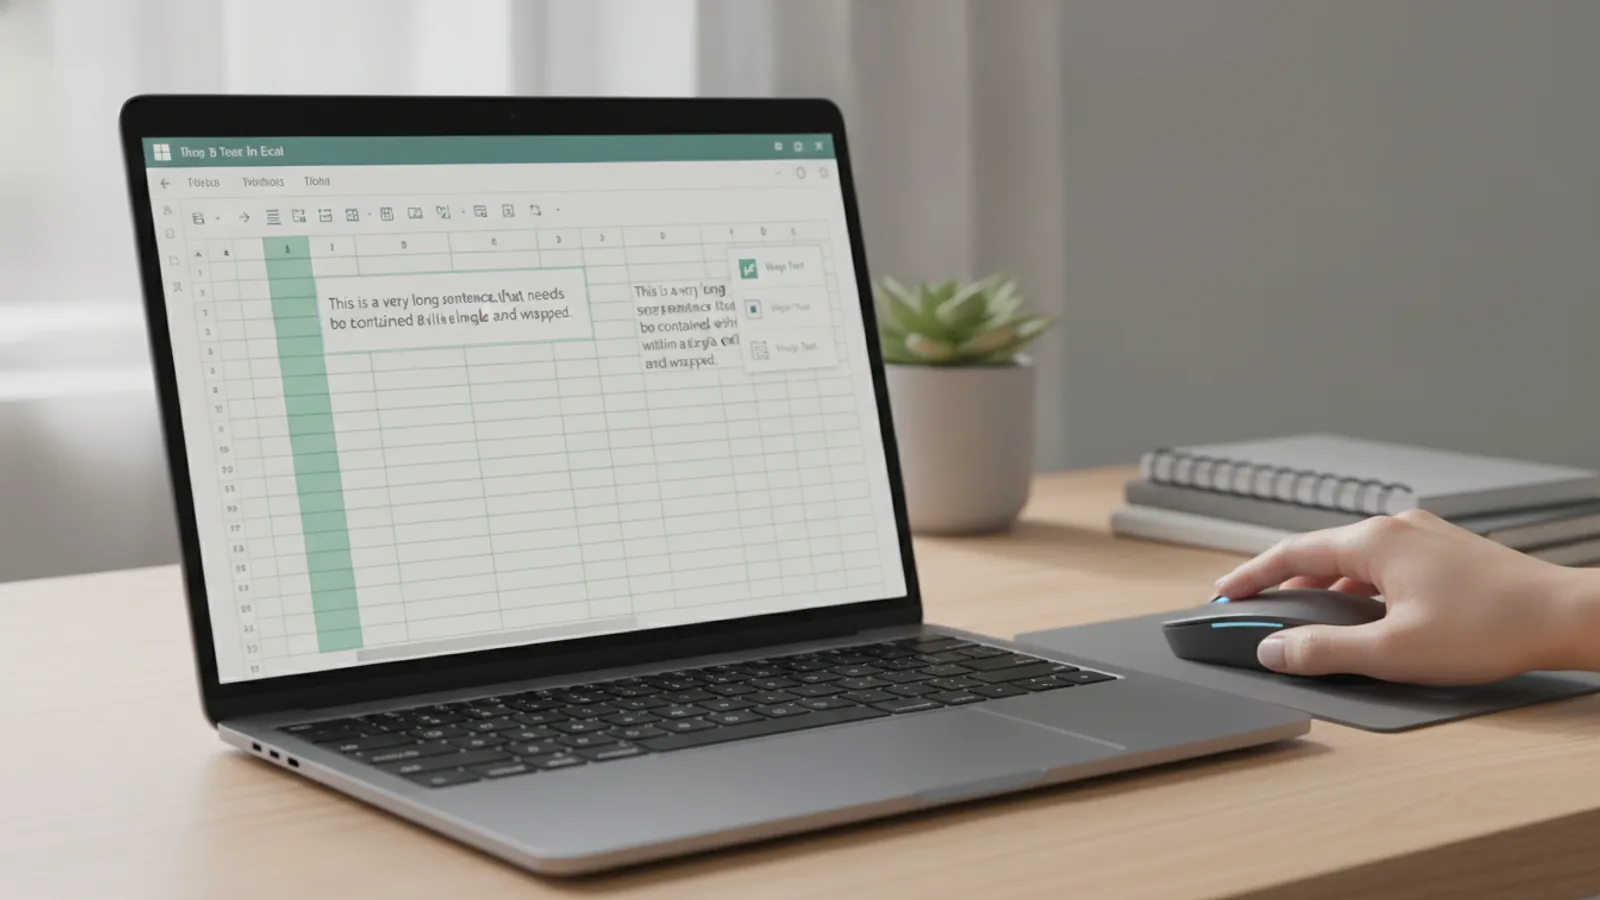
How To Wrap Text In Excel
Learning how to wrap text in Excel is a fundamental skill for creating clean, readable spreadsheets. This guide will show you how to make long sentences or headings fit neatly inside a cell by displaying them on multiple lines. This prevents your text from being cut off or spilling into adjacent cells, making your data easier to understand at a glance. We'll cover the simple one-click method, how to control line breaks manually, and how to fix common problems you might encounter.
Fast Answer
- Main Method: Use the 'Wrap Text' Button
- Location: Select your cell(s), then go to the Home tab and click Wrap Text in the Alignment group.
Before You Start
- A computer with Microsoft Excel installed. These instructions apply to Excel for Microsoft 365, Excel 2021, 2019, 2016, and Excel for the web.
- An Excel spreadsheet file containing cells with long text that you wish to format.
Step-by-Step Instructions
Use the 'Wrap Text' Button on the Ribbon
This is the quickest and most common way to wrap text in Excel. It automatically adjusts the text to fit within the current column width.
- First, click on the cell you want to format. To format multiple cells at once, you can click and drag to select a range of cells, or hold the Ctrl key (Cmd on Mac) while clicking individual cells. To select an entire column, click its lettered header (A, B, C, etc.).
- Navigate to the Home tab on the Excel ribbon at the top of the screen.
- Look for the Alignment group of options. Within this group, you will see a button labelled Wrap Text. Its icon shows the letters 'abc' broken into two lines.
- Click the 'Wrap Text' button. The text in your selected cell(s) will immediately wrap to fit the column width, and the row height will increase to show all the text.
Use the Format Cells Dialogue Box
For more control or if you're already adjusting other formatting options, the 'Format Cells' window provides another way to enable text wrapping. This method is slightly slower but gives you access to all alignment settings in one place.
- Select the cell or range of cells you wish to format.
- Right-click on your selection. From the context menu that appears, choose Format Cells....
- Alternatively, you can use a keyboard shortcut: press Ctrl + 1 on Windows or Command + 1 on a Mac.
- In the 'Format Cells' window that opens, click on the Alignment tab at the top.
- Under the 'Text control' section, you will see a list of checkboxes. Tick the box next to 'Wrap text'.
- Click the OK button at the bottom to apply the change and close the window.
This achieves the same result as the ribbon button but is useful when you're also setting number formats, fonts, or borders at the same time.
Manually Insert a Line Break for Precise Control
Sometimes you don't want Excel to decide where the line breaks. You might want to format an address or create a multi-line heading where each part starts on a new line. In this case, you can insert manual line breaks.
- Double-click the cell you want to edit, or select the cell and press the F2 key. This puts you into 'edit mode', and you'll see a blinking cursor inside the cell.
- Click to place the cursor exactly where you want the text to break onto a new line.
- Press the keyboard shortcut for a manual line break:
- On Windows: Alt + Enter
- On Mac: Option + Enter or Control + Option + Enter
- The text after your cursor will jump to a new line within the same cell. You can repeat this process to create multiple line breaks in one cell.
- Press Enter to confirm the changes. When you insert a manual line break, Excel automatically enables the 'Wrap Text' setting for that cell.
Adjust Column Width and Row Height
Text wrapping is dependent on the width of the column. If a column is very wide, the text may not appear to wrap because it already fits on a single line. Conversely, if a row's height is fixed, you might not see all your wrapped text.
- To adjust column width: Move your mouse to the right-hand border of the column header (the line between 'A' and 'B', for example). The cursor will change to a double-sided arrow. Click and drag to make the column wider or narrower. Your wrapped text will readjust accordingly.
- To AutoFit column width: Double-click the right-hand border of the column header. This will resize the column to fit the longest continuous piece of text in that column.
- To AutoFit row height: If your text is wrapped but you can't see all of it, the row height may be manually set. Move your mouse to the bottom border of the row number header. Double-click the border to automatically adjust the row height to display all the wrapped text.
How to Unwrap Text
Removing text wrapping is just as easy as applying it. If you decide you want your text back on a single line, you can reverse the process.
- Select the cell or cells where you want to remove text wrapping.
- Go to the Home tab and in the Alignment group, click the 'Wrap Text' button. Because it's a toggle, this will turn the feature off, and the button will no longer be highlighted.
- Alternatively, open the Format Cells window (Ctrl + 1), go to the Alignment tab, and uncheck the 'Wrap text' box.
Quick Reference
| Situation | Use this | Why |
|---|---|---|
| You need to quickly wrap long text in one or more cells. | Use the 'Wrap Text' button on the Home tab. | It's the fastest and most direct method for automatic wrapping. |
| You want precise control over where the line breaks. | Place cursor and press Alt + Enter (Windows) or Option + Enter (Mac). | This forces a line break exactly where you need it, ideal for addresses or lists. |
| You are already adjusting other cell formats (like number or font). | Use the Format Cells dialogue box (Ctrl + 1). | It centralises all formatting options, including text wrapping, in one place. |
| You want to remove text wrapping. | Click the 'Wrap Text' button again on the selected cell(s). | The button is a toggle; clicking it a second time disables wrapping. |
Common Problems When You Wrap Text In Excel
Sometimes wrapping text doesn't work as expected. Here are some common issues and how to solve them.
Problem: Text isn't wrapping even after clicking the button.
The most common cause for this is a manually set row height that is too small. Excel won't override a fixed height. To fix this, select the entire row by clicking its number on the left. Then, navigate to the Home tab, click Format in the 'Cells' group, and select AutoFit Row Height. Another possible cause is merged cells. Text wrapping behaves unpredictably in merged cells. It's often better to Unmerge Cells (found in the 'Alignment' group) and adjust column widths instead.
Problem: The row becomes extremely tall after wrapping text.
This often happens if you have a very long piece of text with no spaces, such as a web URL or a product code. Since Excel can't find a natural place (a space) to break the line, it keeps the entire string together, resulting in a very tall, narrow cell. The best solution is to manually adjust the column width to be wider, or if possible, edit the cell content to add spaces or manual line breaks (Alt + Enter) in logical places.
Problem: Wrapped text is cut off at the top or bottom.
This is usually an issue with vertical alignment. If your row is tall enough but you only see the last line of text, your vertical alignment is likely set to 'Bottom'. To fix this, select the cell, go to the Home tab, and in the Alignment group, click the Top Align or Middle Align icon. This will ensure you can see the beginning of your text. You may still need to use 'AutoFit Row Height' to see all of it.
Problem: The 'Wrap Text' button is greyed out and cannot be clicked.
If you can't click the 'Wrap Text' button, your worksheet is likely protected. A protected sheet prevents users from making formatting changes. To disable this, go to the Review tab on the ribbon and click Unprotect Sheet. You may need to enter a password if the sheet was password-protected.
Advanced Tips for Wrapping Text In Excel
Once you've mastered the basics, here are a few advanced techniques to give you even more control over your text layout.
Combine Wrap Text with Justify Alignment
For cells containing paragraphs of text, you can create a clean, block-like appearance similar to a newspaper column. First, apply 'Wrap Text' as usual. Then, open the Format Cells window (Ctrl + 1), go to the Alignment tab, and under 'Horizontal' alignment, select Justify from the dropdown menu. This will spread the text in each line (except the last) to touch both the left and right edges of the cell.
Use a Formula to Insert Line Breaks
You can automatically combine text from different cells and add line breaks using a formula. This is perfect for building addresses or summaries from separate data points. The key is the CHAR(10) function, which represents the line break character in Excel.
For example, if you have a street address in cell A1 and the city in cell B1, you could use this formula in cell C1: =A1 & CHAR(10) & B1. To make this work, you must enable 'Wrap Text' on cell C1. The result will be the content of A1, followed by a line break, followed by the content of B1, all neatly formatted in a single cell.
Find and Replace Manual Line Breaks
If you have a dataset with unwanted manual line breaks, you can remove them all at once using the 'Find and Replace' tool. Press Ctrl + H to open it. In the 'Find what' box, you need to enter the line break character. You can't type it, so use this shortcut: hold down the Alt key and type 0010 on your numeric keypad. Or, an easier way is to press Ctrl + J. The box may look empty, but the character is there. In the 'Replace with' box, type a single space to replace the line breaks with spaces. Then click Replace All.
How To Wrap Text In Excel FAQ
What is the keyboard shortcut for Wrap Text in Excel?
Why does my wrapped text overlap with the next cell?
Can I wrap text inside a PivotTable?
Does wrapping text change the actual data in the cell?
Final Checklist for Wrapping Text In Excel
- Identify the cells that contain long text and need formatting.
- Choose your method: Use the 'Wrap Text' button for speed, or insert manual line breaks with 'Alt + Enter' for precise control.
- Adjust column width to an appropriate size before or after wrapping.
- Verify row height has adjusted correctly. If text is hidden, use 'AutoFit Row Height'.
- Check for merged cells, as they are a common cause of wrapping issues. Consider unmerging them for better results.
- Save your workbook to keep the new formatting changes.