How To Enable Macros In Excel
A practical step-by-step guide to how to enable macros in excel, including preparation, instructions, common issues, tips, and next steps.
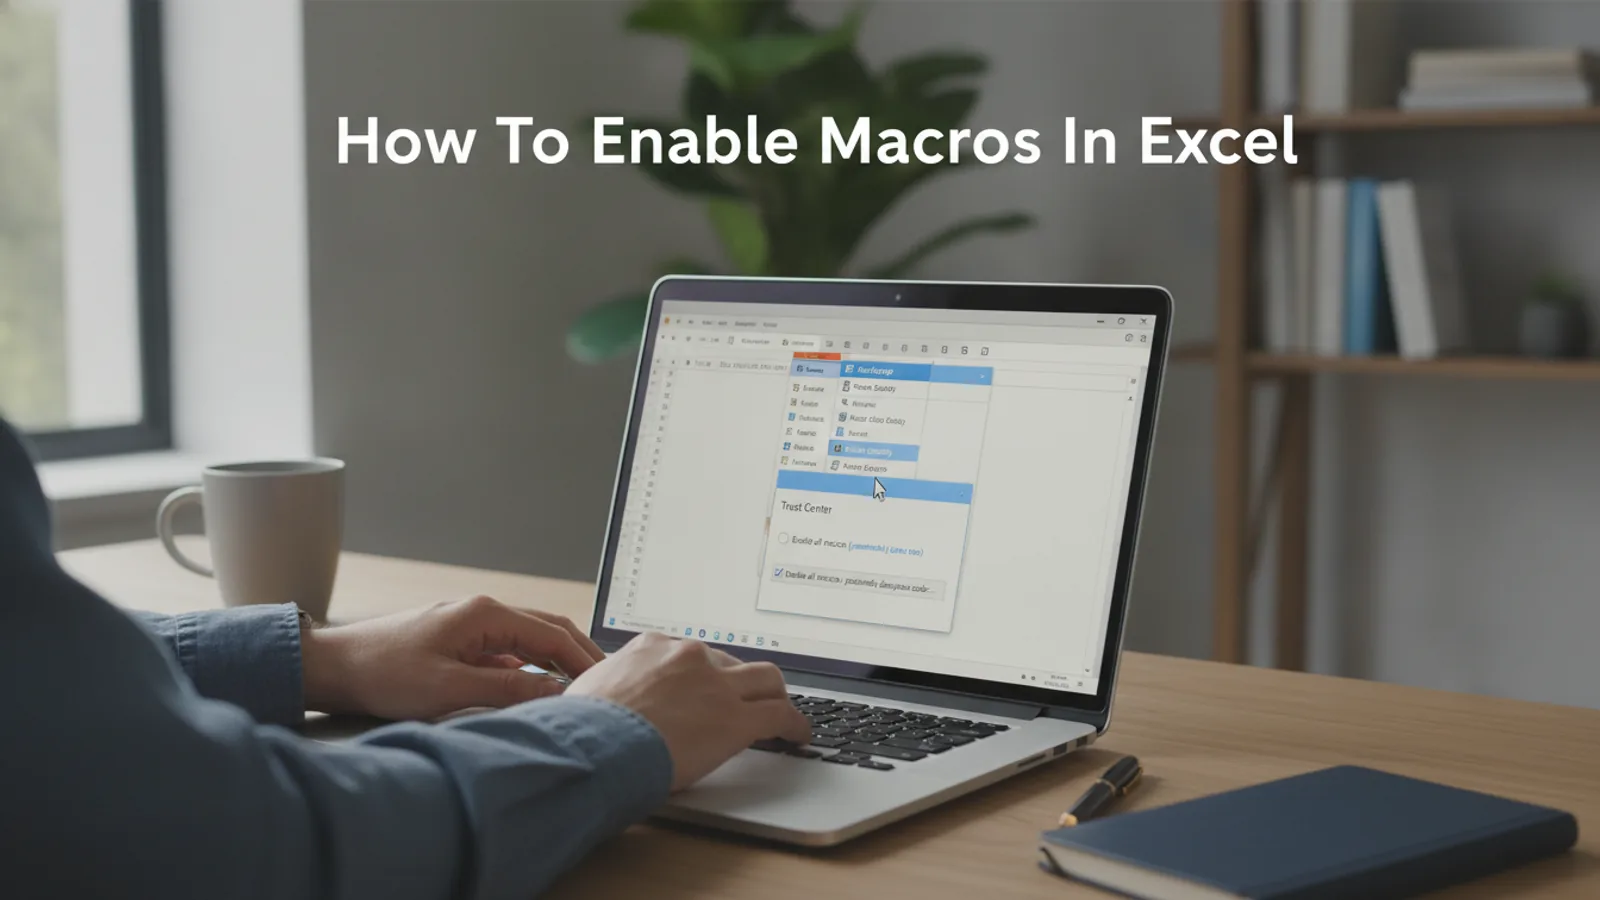
How To Enable Macros In Excel
This guide provides clear, step-by-step instructions on how to enable macros in Microsoft Excel. Macros can automate repetitive tasks and save you a great deal of time, but they also carry security risks. We'll show you how to enable them safely for a single file, for all files in a trusted folder, and how to adjust your global security settings. This guide is for you if you've received an Excel file with a "Security Warning" message or if you're creating your own macros.
Fast Answer
- Path: File > Options > Trust Center > Trust Center Settings… > Macro Settings.
- Recommended Setting: Choose 'Disable all macros with notification'.
- To Run a Macro: Open a trusted file and click the 'Enable Content' button on the yellow message bar.
Before You Start
- Microsoft Excel: This guide applies to modern versions of Excel for Windows and Mac, including Microsoft 365, Excel 2021, 2019, and 2016. The interface may vary slightly.
- A Macro-Enabled File: You will need an Excel file that contains macros. These files typically have extensions like .xlsm, .xlsb, or .xlam.
- Know Your Source: The most crucial step is knowing where the file came from. Is it from a trusted colleague, your IT department, or a file you created yourself?
Step-by-Step Instructions
Method 1: Enable Macros for a Single Session (Safest Method)
This is the most common and safest way to enable macros. It allows them to run only for the current file while it's open, without changing your overall security settings.
- Open your macro-enabled Excel workbook.
- Look for a yellow message bar below the ribbon at the top of the spreadsheet. It will say "SECURITY WARNING Macros have been disabled."
- If you trust the file and its source, click the "Enable Content" button on that message bar.
- The macros in the workbook will now be active for this session. When you close and reopen the file, you will be prompted again. This is a safety feature.
Method 2: Adjust Global Settings in the Trust Center
If you want to change how Excel handles all macros by default, you need to go into the Trust Center. This is where you set the baseline security level for your application.
- Click the File tab in the top-left corner of Excel.
- Select Options from the menu on the left (it's usually at the bottom).
- In the Excel Options window, click on Trust Center in the left-hand pane.
- Click the "Trust Center Settings…" button on the right.
- In the Trust Center window, select Macro Settings from the left-hand menu.
- You will see four main options. For the best balance of security and convenience, select "Disable all macros with notification." This is the recommended default setting that produces the yellow message bar from Method 1.
- Click OK to save your changes and then OK again to close the Excel Options window.
The four options mean:
- Disable all macros without notification: Highest security. All macros are blocked, and you won't even be told they exist.
- Disable all macros with notification: Recommended setting. Macros are blocked by default, but you get the choice to "Enable Content" on a case-by-case basis.
- Disable all macros except digitally signed macros: An advanced option for corporate environments where macros are verified with a digital signature.
- Enable all macros (not recommended; potentially dangerous code can run): Lowest security. All macros will run automatically. Do not choose this option unless you have an extremely specific reason and fully understand the risks.
Method 3: Set Up a Trusted Location
This method is perfect if you have a specific folder on your computer where you store your own macro-enabled files or files from a trusted team. Any file opened from a "Trusted Location" will have its macros enabled automatically, bypassing the security prompt.
- Follow steps 1-4 from Method 2 to open the Trust Center.
- In the Trust Center window, select Trusted Locations from the left-hand menu.
- You will see a list of default trusted locations. To add your own, click the "Add new location…" button at the bottom.
- Click the "Browse…" button and navigate to the folder you wish to trust. Select it and click OK.
- If you also want to trust any subfolders within that folder, tick the box that says "Subfolders of this location are also trusted."
- Click OK to add the location, and then OK again to close the Trust Center.
Method 4: Unblock a File Downloaded from the Internet
Modern versions of Windows and Office have an extra security layer that blocks macros in files downloaded from the internet. Even if you click "Enable Content," the macros may not run. You must first "unblock" the file itself.
- Download the Excel file and save it to your computer.
- Close the file in Excel if it's open. You cannot change this property while the file is in use.
- Open File Explorer and navigate to where you saved the file.
- Right-click on the Excel file and choose Properties from the context menu.
- On the General tab, look at the very bottom. If the file is blocked, you will see a security section with a checkbox that says "Unblock".
- Tick the Unblock checkbox and click Apply, then OK.
- Now, when you open the file in Excel, the standard yellow "Enable Content" bar should appear and work correctly.
Step-by-Step Instructions
Document what changed
Save the final settings, decisions, or checks so the same process is easier to repeat later.
Quick Reference
| Situation | Use this | Why |
|---|---|---|
| Opening a single file from a trusted colleague | Click the "Enable Content" button | It's quick, safe, and only applies to the current session. |
| Working with your own macro files every day | Add your project folder to "Trusted Locations" | It saves time by automatically enabling macros for all files in that specific, secure folder. |
| A macro file from the web won't run | Right-click the file > Properties > "Unblock" | Windows blocks macros from internet sources by default as a security measure. |
| You are saving your own file with macros | Save As > "Excel Macro-Enabled Workbook (*.xlsm)" | The standard .xlsx format strips out all macro code. You must use a macro-enabled format. |
Common Problems When You Enable Macros In Excel
The "Enable Content" security bar is missing.
If you open a file that you know contains macros but don't see the yellow warning bar, your Trust Center settings are likely set to "Disable all macros without notification."
Solution: Go to File > Options > Trust Center > Trust Center Settings > Macro Settings and change the selected option to "Disable all macros with notification." Click OK to confirm. The next time you open the file, the bar should appear.
I enabled macros, but they still don't work.
There are a few possible causes for this.
- The File is Blocked: If the file was downloaded from the internet, it's probably blocked by Windows. See Method 4 above to unblock it through its Properties menu.
- Protected View: The file may have opened in "Protected View," another security feature for files from potentially unsafe locations. Look for a red or pink message bar at the top and click "Enable Editing."
- Errors in the Code: The macro itself might contain a programming error. This is a more advanced problem that requires debugging the VBA (Visual Basic for Applications) code.
The macro settings in the Trust Center are greyed out.
If you cannot click on the macro settings to change them, it means your computer's settings are managed by a system administrator, likely in a corporate or school environment. Your company's IT department has set a policy that prevents users from changing these security settings.
Solution: You must contact your IT support department. They are the only ones who can change this policy or make an exception for you.
Advanced Tips for Enabling Macros in Excel
Using the Developer Tab
To record your own macros or edit existing ones, you need the Developer tab, which is hidden by default.
To enable it: Go to File > Options > Customize Ribbon. In the right-hand list under "Main Tabs," find and tick the checkbox next to Developer, then click OK. This tab gives you access to the Macro recorder, the VBA editor, and other advanced tools.
Understanding Digitally Signed Macros
For a higher level of security in a business setting, developers can use a digital certificate to "sign" their macro code. This acts as a seal of authenticity, proving who created the macro and that it hasn't been tampered with.
You can set your Trust Center to "Disable all macros except digitally signed macros." With this setting, only macros from trusted, certified developers will be allowed to run, offering a robust security model for organisations.
How To Enable Macros In Excel FAQ
Is it safe to enable macros in Excel?
It is safe only if you trust the source of the file completely. If you created the macro yourself, or it came from a known and trusted colleague or your company's IT team, it is generally safe. If the file came from an unknown email address or a questionable website, it is extremely unsafe. Treat macros like executable programs: don't run them unless you know what they do and who made them.
How do I enable macros permanently?
There are two ways to do this, one recommended and one not.
- Recommended: Add the specific folder containing your trusted files to the "Trusted Locations" list in the Trust Center (Method 3). This is the best way to permanently enable macros for a specific set of files.
- Not Recommended: Change the global macro setting to "Enable all macros." This is dangerous because it will automatically run any macro in any file you open, including malicious ones, without any warning.
What is the difference between an .xlsx and an .xlsm file?
An .xlsx file is a standard Excel workbook. It can contain data, formulas, charts, and formatting, but it cannot store macro code. If you write a macro and save the file as .xlsx, the macro will be deleted.
An .xlsm file is an Excel Macro-Enabled Workbook. It contains everything an .xlsx file does, plus it can store and run VBA macro code. If you want your macros to be saved with your workbook, you must use this file format.
Final Checklist for Enabling Macros In Excel
- Verify the Source: Before anything else, confirm that you trust the person or organisation that sent you the file.
- Choose the Right Method: Decide if you need to enable macros just once ("Enable Content"), for a specific folder ("Trusted Locations"), or by changing your default settings ("Trust Center").
- Unblock Internet Files: For any file downloaded from the web, check its Properties in File Explorer and tick the "Unblock" box if present.
- Use the Correct File Format: When saving your own work, remember to use the ".xlsm" format to preserve your macros.
- Maintain Safe Defaults: Check that your default Trust Center setting is "Disable all macros with notification" for ongoing protection.