How To Pin A Row In Excel
A practical step-by-step guide to how to pin a row in excel, including preparation, instructions, common issues, tips, and next steps.
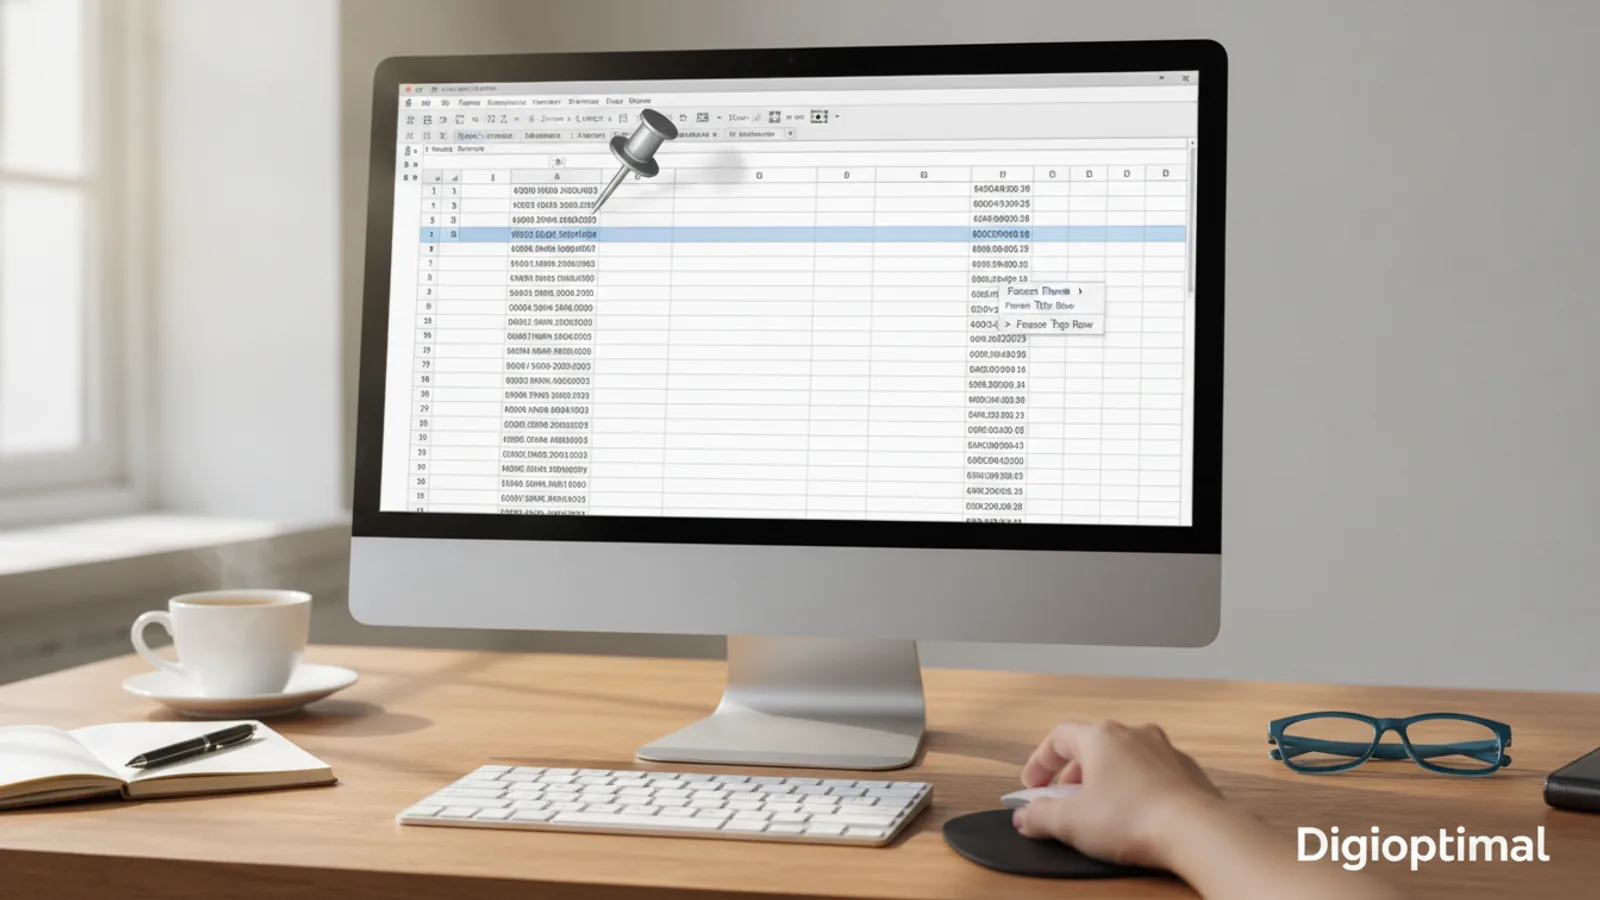
How To Pin A Row In Excel
This guide shows you how to pin a row in Excel, a feature officially called "Freeze Panes." Pinning a row is essential when working with large spreadsheets, as it keeps your header row or other important rows visible at the top of the screen while you scroll down through your data. This prevents you from losing track of which column is which, making your data much easier to read and analyse. We'll cover pinning the top row, multiple rows, and both rows and columns at the same time.
Fast Answer
- To pin the top row: Go to the View tab, click Freeze Panes, then select Freeze Top Row.
- To pin multiple rows: Select the row immediately below the last row you want to pin. Then go to View > Freeze Panes > Freeze Panes.
Before You Start
- You will need a spreadsheet file opened in a desktop or web version of Microsoft Excel. The steps are very similar across recent versions for Windows, macOS, and Excel for the Web.
- Have a clear idea of which rows you want to keep visible. This is usually the header row (row 1), but can sometimes include multiple rows with titles or summary information.
Step-by-Step Instructions
Navigate to the View Tab
First, open your Excel spreadsheet. At the top of the Excel window, you will see a series of tabs like "File," "Home," "Insert," etc. Click on the View tab. This is where all the options for changing how your spreadsheet is displayed are located. The "Freeze Panes" command is in the "Window" group of tools on this tab.
Pin Just the Top Row
This is the most common and simplest scenario. If you only need to keep your main header row (Row 1) visible as you scroll, Excel has a dedicated button for it.
- Make sure you are on the View tab.
- Click the Freeze Panes dropdown menu.
- From the options that appear, select Freeze Top Row.
A thin grey line will appear below Row 1, indicating that it is now pinned. You can test this by scrolling down your sheet; Row 1 will remain fixed at the top.
Pin a Specific Number of Rows
Sometimes your headers or key information might span across several rows. For example, you may want to keep rows 1, 2, and 3 visible. To do this, you need to use the main "Freeze Panes" command.
The key is to select the row immediately below the last row you want to freeze. So, to freeze rows 1 to 3:
- Click on the row number for Row 4 on the far left side of the worksheet. This will highlight the entire row.
- Go to the View tab.
- Click the Freeze Panes dropdown menu.
- Select the first option, also called Freeze Panes.
Excel will now pin all rows above your selection. A line will appear between row 3 and row 4, and as you scroll down, rows 1, 2, and 3 will stay locked in place.
Pin Both Rows and Columns Simultaneously
In many datasets, you'll want to keep both the top rows and the first few columns visible. For example, you might want to see the column headers (Row 1) and the person's name (Column A) at all times.
To do this, you need to select a single cell. Excel will freeze all rows above this cell and all columns to the left of this cell. For instance, to freeze Row 1 and Column A:
- Click on cell B2. This cell is below the row you want to freeze (Row 1) and to the right of the column you want to freeze (Column A).
- Navigate to the View tab.
- Click Freeze Panes, and then select the Freeze Panes option from the dropdown.
Now, when you scroll down, Row 1 will remain visible. When you scroll to the right, Column A will remain visible. This is incredibly useful for navigating large tables of data.
How to Unpin (Unfreeze) Your Rows
Removing the pinned rows is straightforward. No matter which rows or columns you have frozen, the process to undo it is the same.
- Go to the View tab.
- Click on the Freeze Panes dropdown menu.
- The top option will now read Unfreeze Panes. Click it.
All frozen rows and columns will immediately be unfrozen, and the thin grey lines will disappear. Your spreadsheet will scroll normally again. You must unfreeze panes before you can set a new freeze point.
Quick Reference
| Situation | Use This Command | Why |
|---|---|---|
| I need to keep only the header row (Row 1) visible. | View > Freeze Panes > Freeze Top Row | This is the fastest, one-click method for the most common task. |
| I need to pin the first three rows. | Select Row 4, then View > Freeze Panes > Freeze Panes | This freezes everything above your current selection. |
| I need to pin the first column and the top two rows. | Select cell B3, then View > Freeze Panes > Freeze Panes | This freezes everything above and to the left of the selected cell. |
| I need to remove all pinned rows and columns. | View > Freeze Panes > Unfreeze Panes | This single command removes any existing freeze, allowing you to scroll freely or set a new one. |
Common Problems When You Pin A Row In Excel
While pinning rows is usually simple, a few common issues can pop up. Here’s how to solve them.
The "Freeze Panes" button is greyed out.
This is the most frequent problem. There are two main causes:
- You are in cell edit mode: If your cursor is blinking inside a cell or the formula bar, Excel is waiting for you to finish typing. You can't change view options while editing. Simply press the Enter or Escape key to exit edit mode, and the button should become active.
- You are in the wrong view: The Freeze Panes feature only works in the "Normal" worksheet view. If you are in "Page Layout" or "Page Break Preview," it will be disabled. To fix this, go to the View tab and, in the "Workbook Views" group, click on Normal.
- The worksheet is protected: In some cases, a protected worksheet might prevent you from freezing panes. You would need to unprotect the sheet via the "Review" tab first.
I pinned rows, but the wrong ones are frozen.
This almost always comes down to incorrect cell selection. Remember the golden rule: Excel freezes the rows above your selection. If you wanted to freeze rows 1 and 2 but ended up freezing only row 1, it's likely because you selected row 2 instead of row 3. To fix this, first click Unfreeze Panes, then carefully re-select the correct row (the one directly below the area you want pinned) and try again.
I only wanted to pin a row, but a column is pinned too.
This happens when you select a cell that isn't in column A. For example, if you click cell C4 and then "Freeze Panes," Excel will freeze rows 1-3 AND columns A-B. If your goal is to freeze only rows, the safest method is to click the actual row number on the left-hand side (e.g., click the number '4' itself). This highlights the entire row and tells Excel you are only concerned with the row position, not the column position.
Advanced Tips for Pinning Rows in Excel
Once you've mastered the basics, here are a few other techniques related to keeping headers visible.
Use Excel Tables for Automatic "Sticky" Headers
An excellent alternative to Freeze Panes is to format your data as an official Excel Table. First, select any cell within your data range, then go to the Home tab and click Format as Table. Choose a style.
Once your data is a Table, Excel provides a clever benefit: as you scroll down far enough that your header row disappears off the top of the screen, the table headers will automatically replace the column letters (A, B, C...) at the very top of the worksheet. This achieves the same goal as pinning a row but is more dynamic and is considered a best practice for organising data.
Use Keyboard Shortcuts
For faster workflow, you can use keyboard shortcuts to manage panes. These are sequence shortcuts using the Alt key.
- To Freeze Panes (based on selection): Alt, W, F, F
- To Unfreeze Panes: Alt, W, F, U (Note: in some versions, this is the same as the freeze shortcut)
- To Freeze the Top Row: Alt, W, F, R
- To Freeze the First Column: Alt, W, F, C
Press the keys one after the other, not all at once.
Understand the "Split" Command
Next to "Freeze Panes" on the View tab is the Split command. This is different but related. Splitting divides your worksheet into two or four separate, scrollable panes. This is useful if you need to compare two sections of a very large sheet that are far apart. Unlike freezing, all panes are scrollable. You can drag the split bars to resize them or double-click them to remove them.
How To Pin A Row In Excel FAQ
Can you pin a row that is not at the top of the sheet?
Does pinning a row affect how the document prints?
How do I know if my panes are already frozen?
Is the process the same in Google Sheets?
Final Checklist for Pinning a Row in Excel
- Confirm your worksheet is in Normal View before you begin.
- If you only need to pin the very top row, use the quick Freeze Top Row command.
- To pin multiple rows (e.g., rows 1-4), remember to select the next row down (Row 5).
- To pin both rows and columns, select the single cell that is below and to the right of the area you want to freeze.
- After freezing, scroll down and across to test that the correct area is locked.
- To change which rows are pinned, you must first select Unfreeze Panes and then re-apply the freeze in the new location.